In general, you can't save money by sewing. Nearly everything is cheaper to buy ready-made than to make it, especially if you shop at big box stores like Target.
Every once in awhile, I stumble across a sale, however, that makes it possible to make something at a better price than if you buy it.
A couple of years ago, I scored some cheap white polar fleece at a warehouse liquidation sale (they were moving locations) for only $1/yard (compare that to the regular price at JoAnne's, which ranges from $9-$12/yard). It's been sitting in my closet, waiting for a project.
Well, just such a project came up a couple of weeks ago.
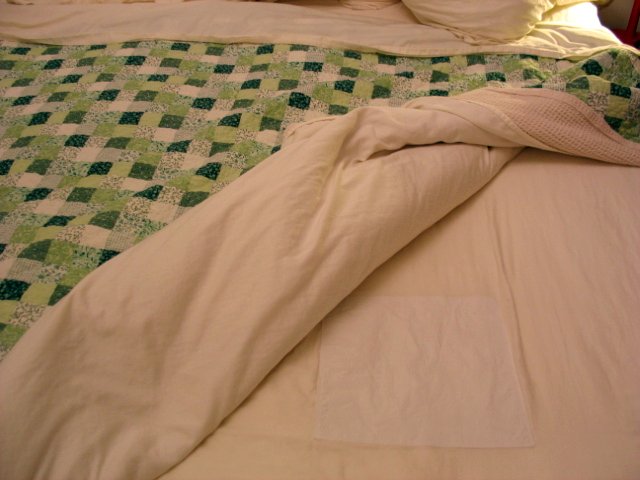
I had just made a pair of white fleece pants for my daughter to wear under her Halloween costume. My 16-year-old stepson took one look at them and said "I want a pair." Given that it was the first time my stepson had actually asked for something, I jumped on the chance.
The pattern was a $1 (on sale) Simplicity pattern (
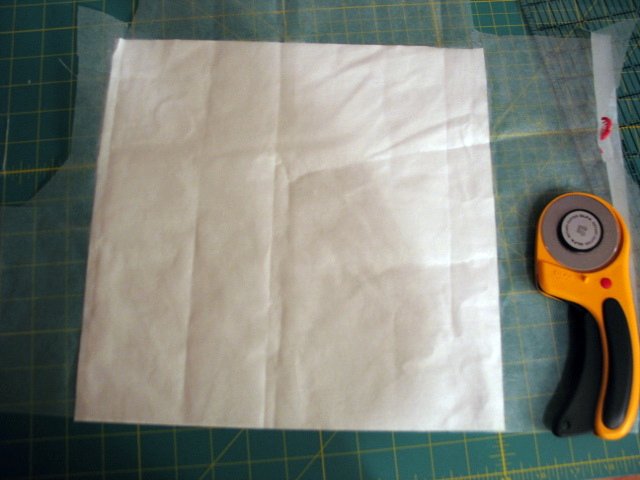
5362 for those who are interested) that I had bought on spec at some point. I went out and bought zippers for the pockets and elastic for the waist. The thread used was so inexpensive that it was almost free (serger thread is comparatively inexpensive comes in very big quantities, and it doesn't take much for a simple project like this). I don't remember the price of the elastic that I used in the ankles, as I bought it several years ago, so I'll have to guess on that. It's nearly impossible for me to quantify the paper used to trace the pattern as we got it for free, so I'm not going to count it.
So the breakdown goes like this:
$1.00 for pattern
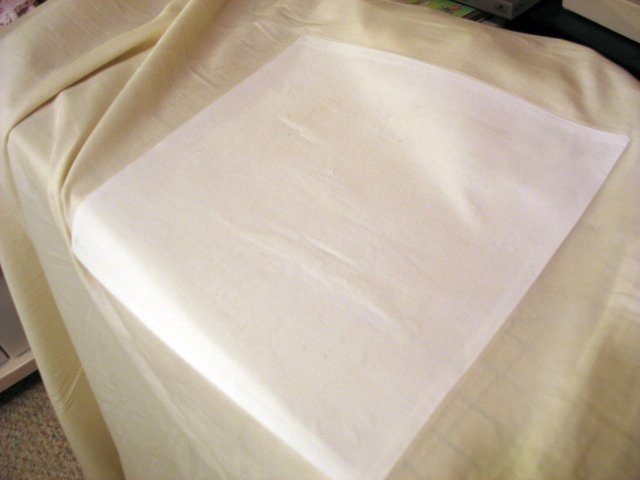
$2.50 for 2.5 yards of fabric
$2.60 for zippers
$2.60 for 2 packages of elastic
$0.25 for thread
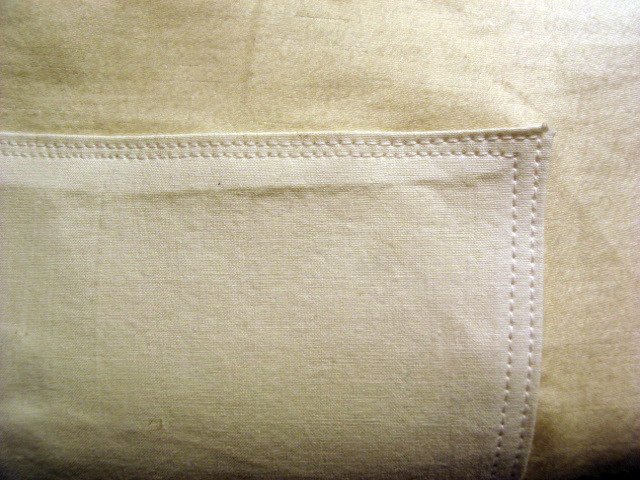
$0.50 for 2/3 yard of elastic$9.45 Materials TotalActivewear pants for men at Target start at about $10, but most run around $14-20 depending. Now that said, I spent probably 10 hours on the pants. That includes tracing the pattern which is somewhat time consuming (and wouldn't have to be repeated if I make them again for him). It also counts the 2+ hours I spent figuring out the !@#$% coverstitch capabilities on my serger (there was NOTHING in the manual explaining how you start and stop, which is VERY different than when you are simply serging, and messes things up if you try and use it like a serger).
Considering that I won't ever have to worry about learning the coverstitching again, let's knock off 2 hours from the total. That brings us down to 8 hours. Let's also spread the pattern tracing times over perhaps 3 pairs of those pants, so that brings us down to 7 hours. I also think I'll be MUCH faster the next time I make them, as there are other things I understand how to do now, so I think we can bring the time down to perhaps 5 hours. If I pay myself $20/hour, then it means that the true cost of the sweats are $109.45. Even if I only pay myself $10/hour, they'd cost $59.45.
Another consideration is that I couldn't make another pair that cheaply, as I usually buy comparable quality (aka not particularly high quality) inexpensive fleece from JoAnne's for about $5/yard on sale. But if you wanted real, high quality fleece like the kind you'd get on clothing from L.L. Bean, you could expect to spend closer to $20/yard at the consumer level (few of us are prepared to buy in wholesale quantities). What this means is that the materials cost would range from $19 - $57.
Huh.... so much for being cheap sweat pants. Makes you wonder about how Target and Walmart can offer such things so cheaply. Big sewing factories can certainly turn out pants far more cheaply and quickly than I can due to streamlined processes, and outsourcing to foreign countries where labor costs are far cheaper and less regulated also lowers costs substantially.
But, you should consider what your clothing is really worth, and where it comes from. I'm absolutely not telling you to quit buying your clothing from discount department stores (I'm not gonna stop, so it would be hypocritical for me to tell you to do so). But, knowing the true value of your clothing is something to keep in mind. Some person, somewhere, made it so that you wouldn't have to.
My recommendation? If you can afford to do so, try to buy your clothing locally. If that's not really feasible, then at least try to buy clothing made in your own country, where you can more easily find out if the labor and industrial waste practices are ethical, AND less fuel will be spent getting the clothing to you. And finally, buy higher quality clothing, but less of it, and then make it last.